Home / Install guide / Create a destination folder
Create a destination folder
Optional — if you want your screenshot notes to land somewhere other than an existing Obsidian vault, create a dedicated iCloud Drive folder first. Five taps inside the Files app.
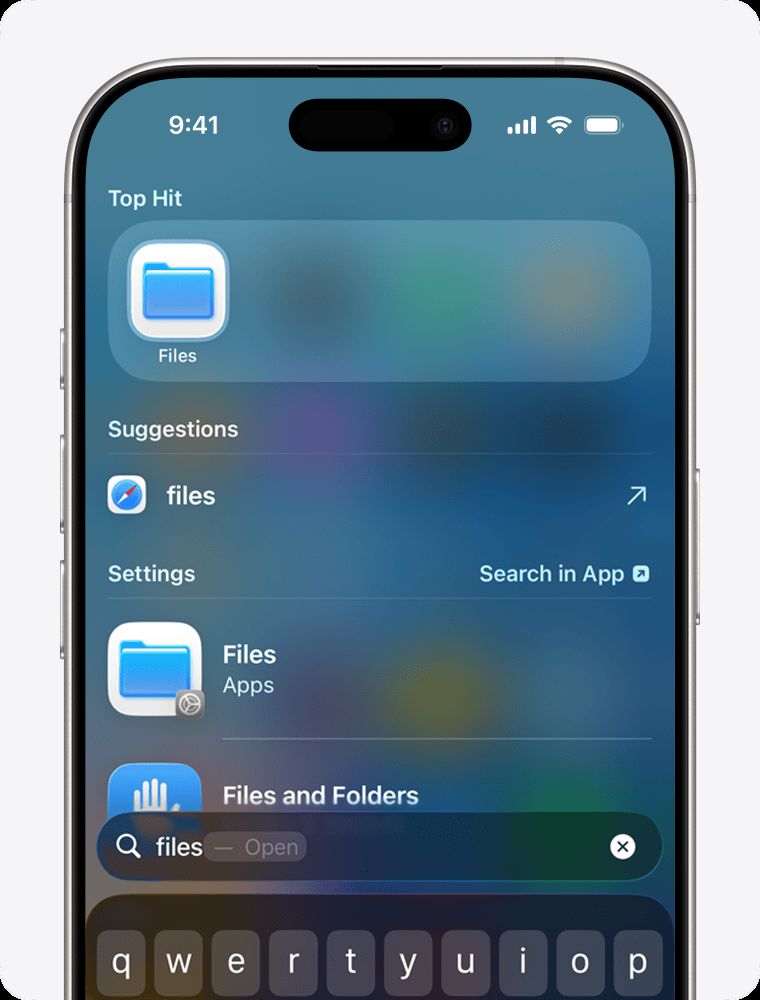
Open the iOS Files app
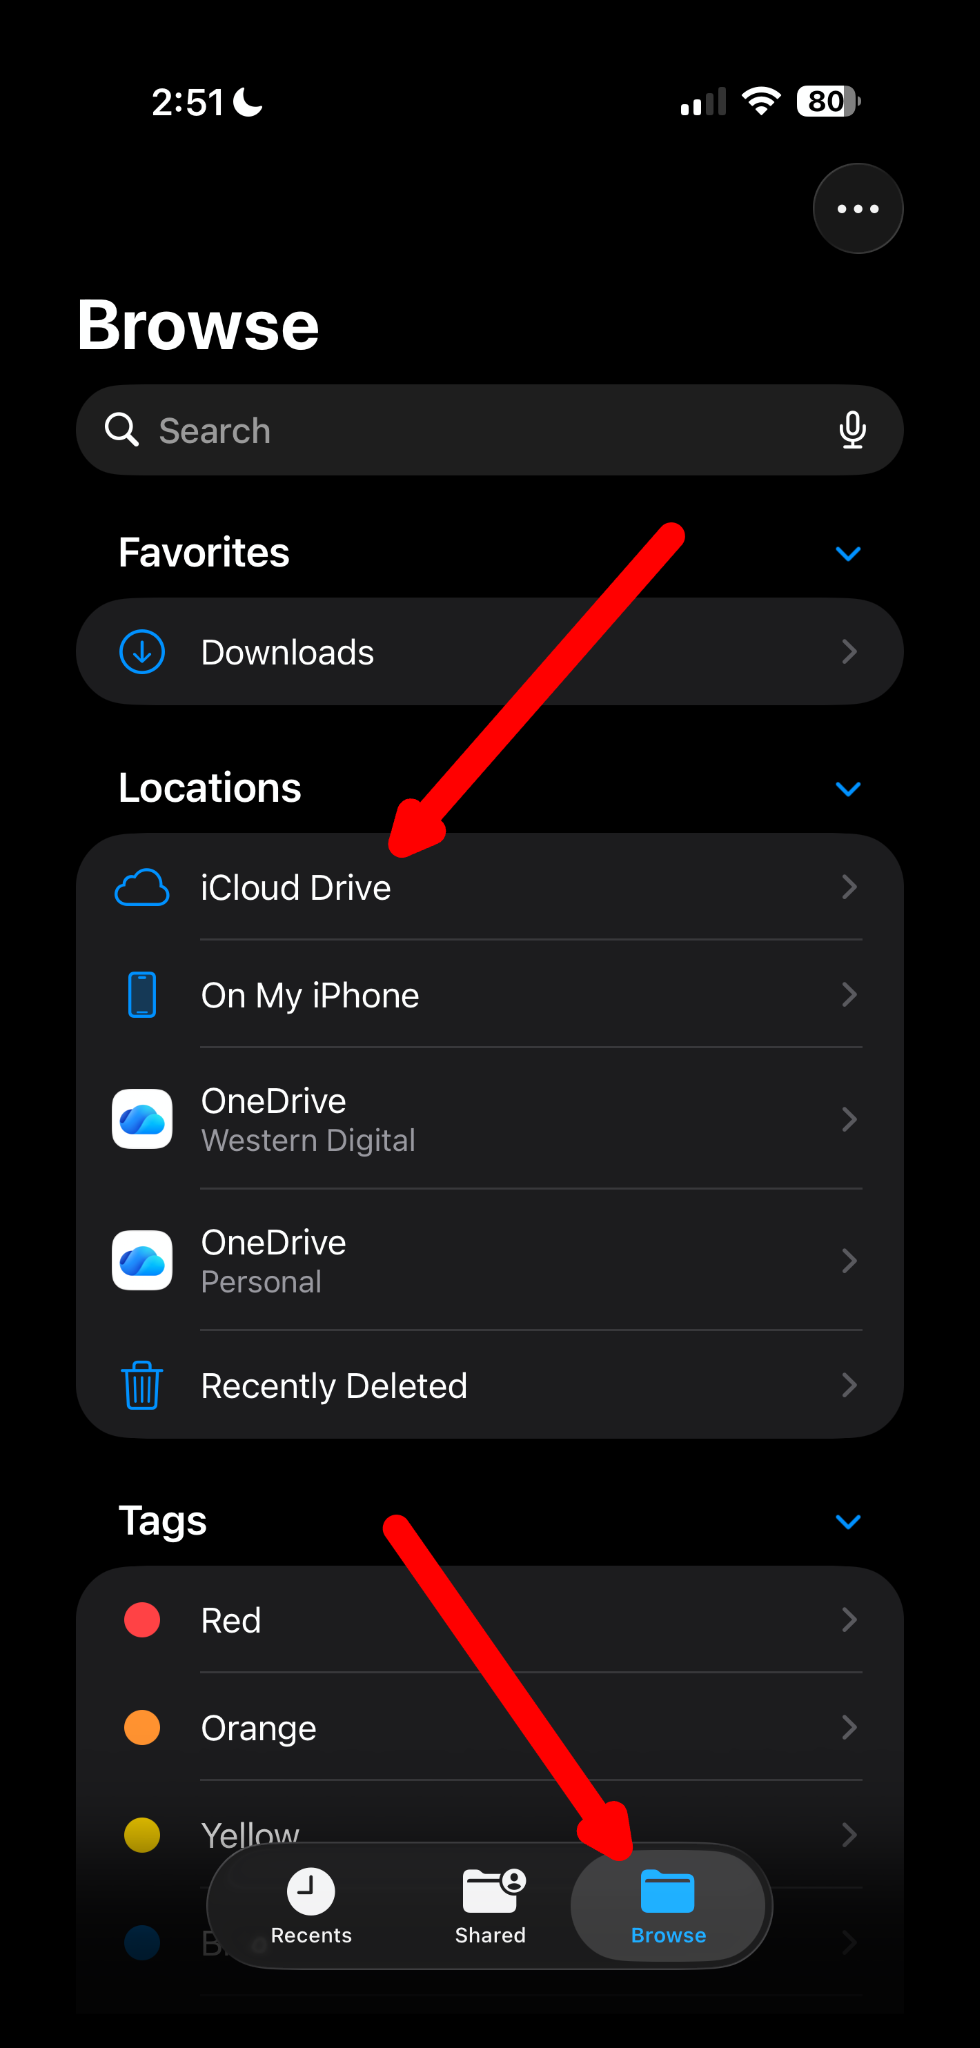
Select Browse from the menu at the bottom of your screen, then select iCloud Drive under Locations.
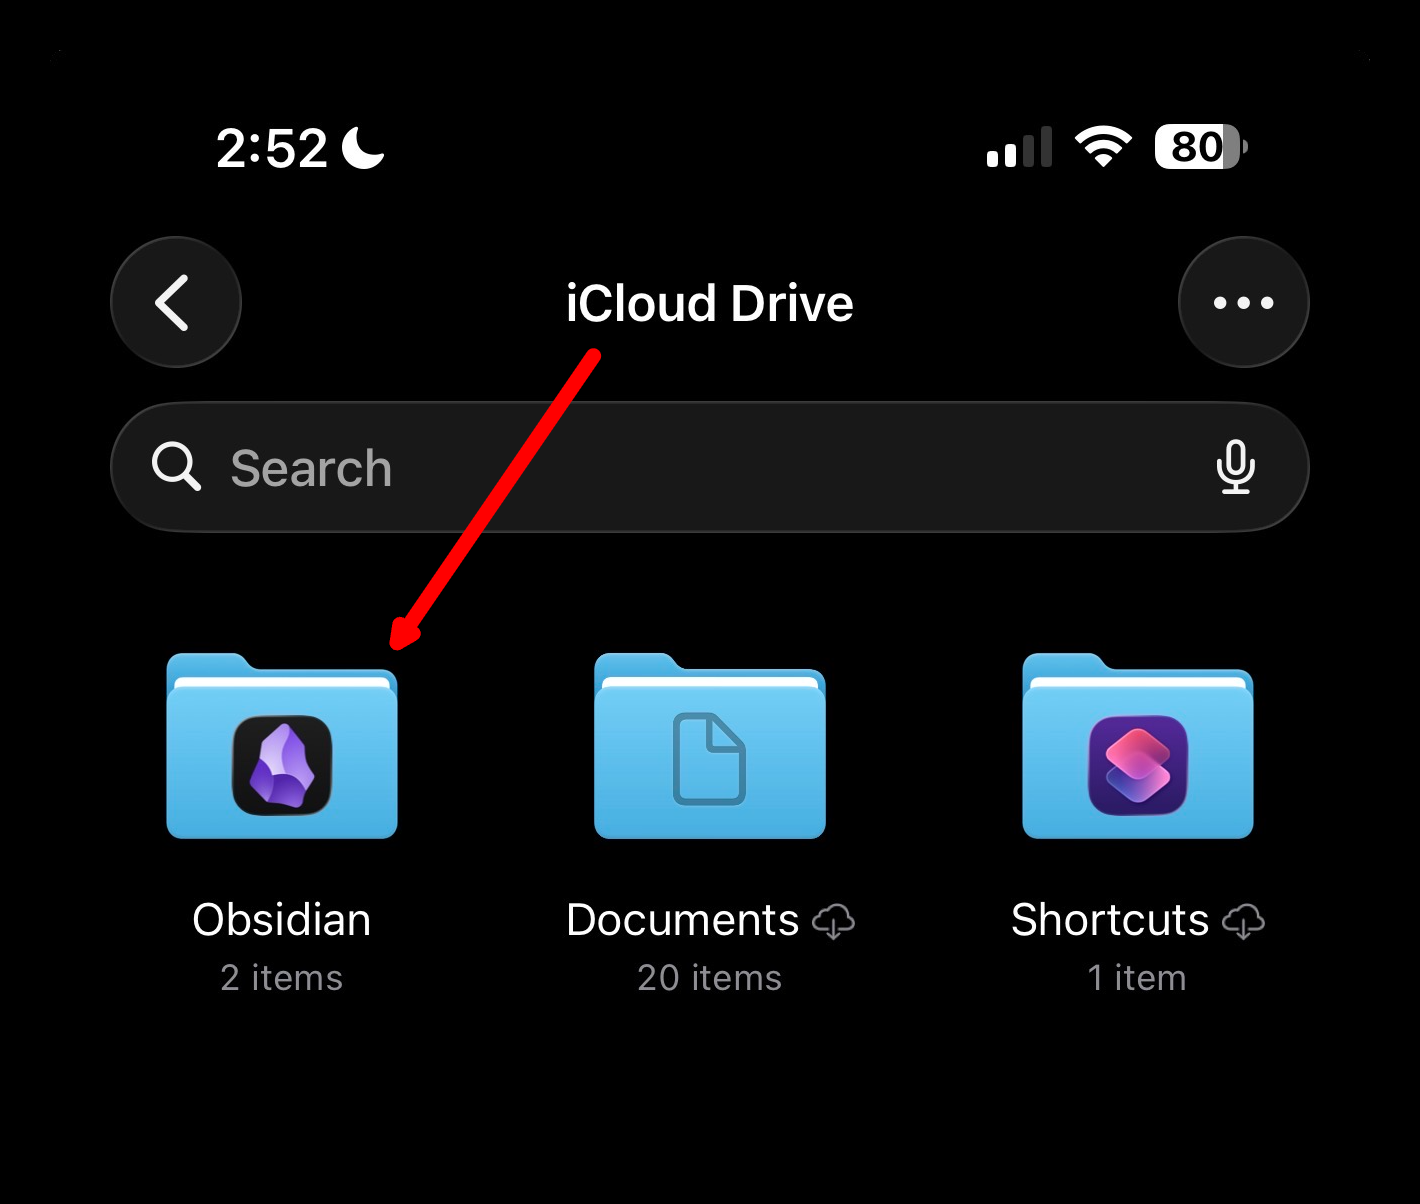
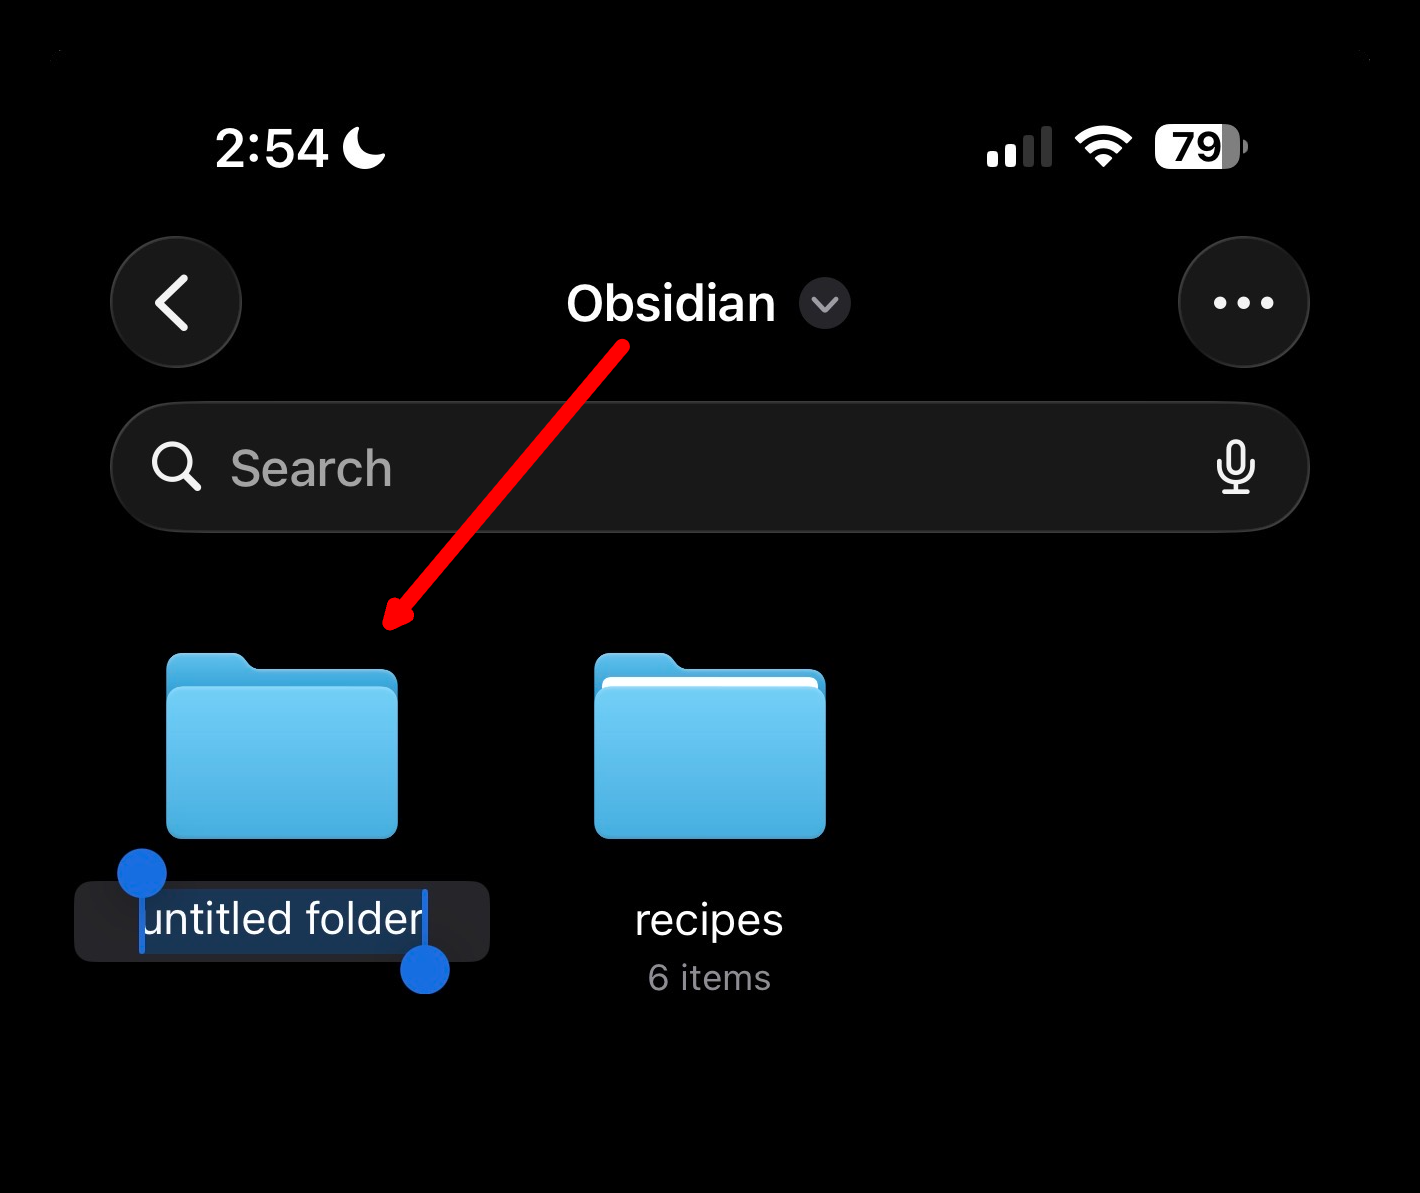
Navigate to iCloud Drive → Obsidian
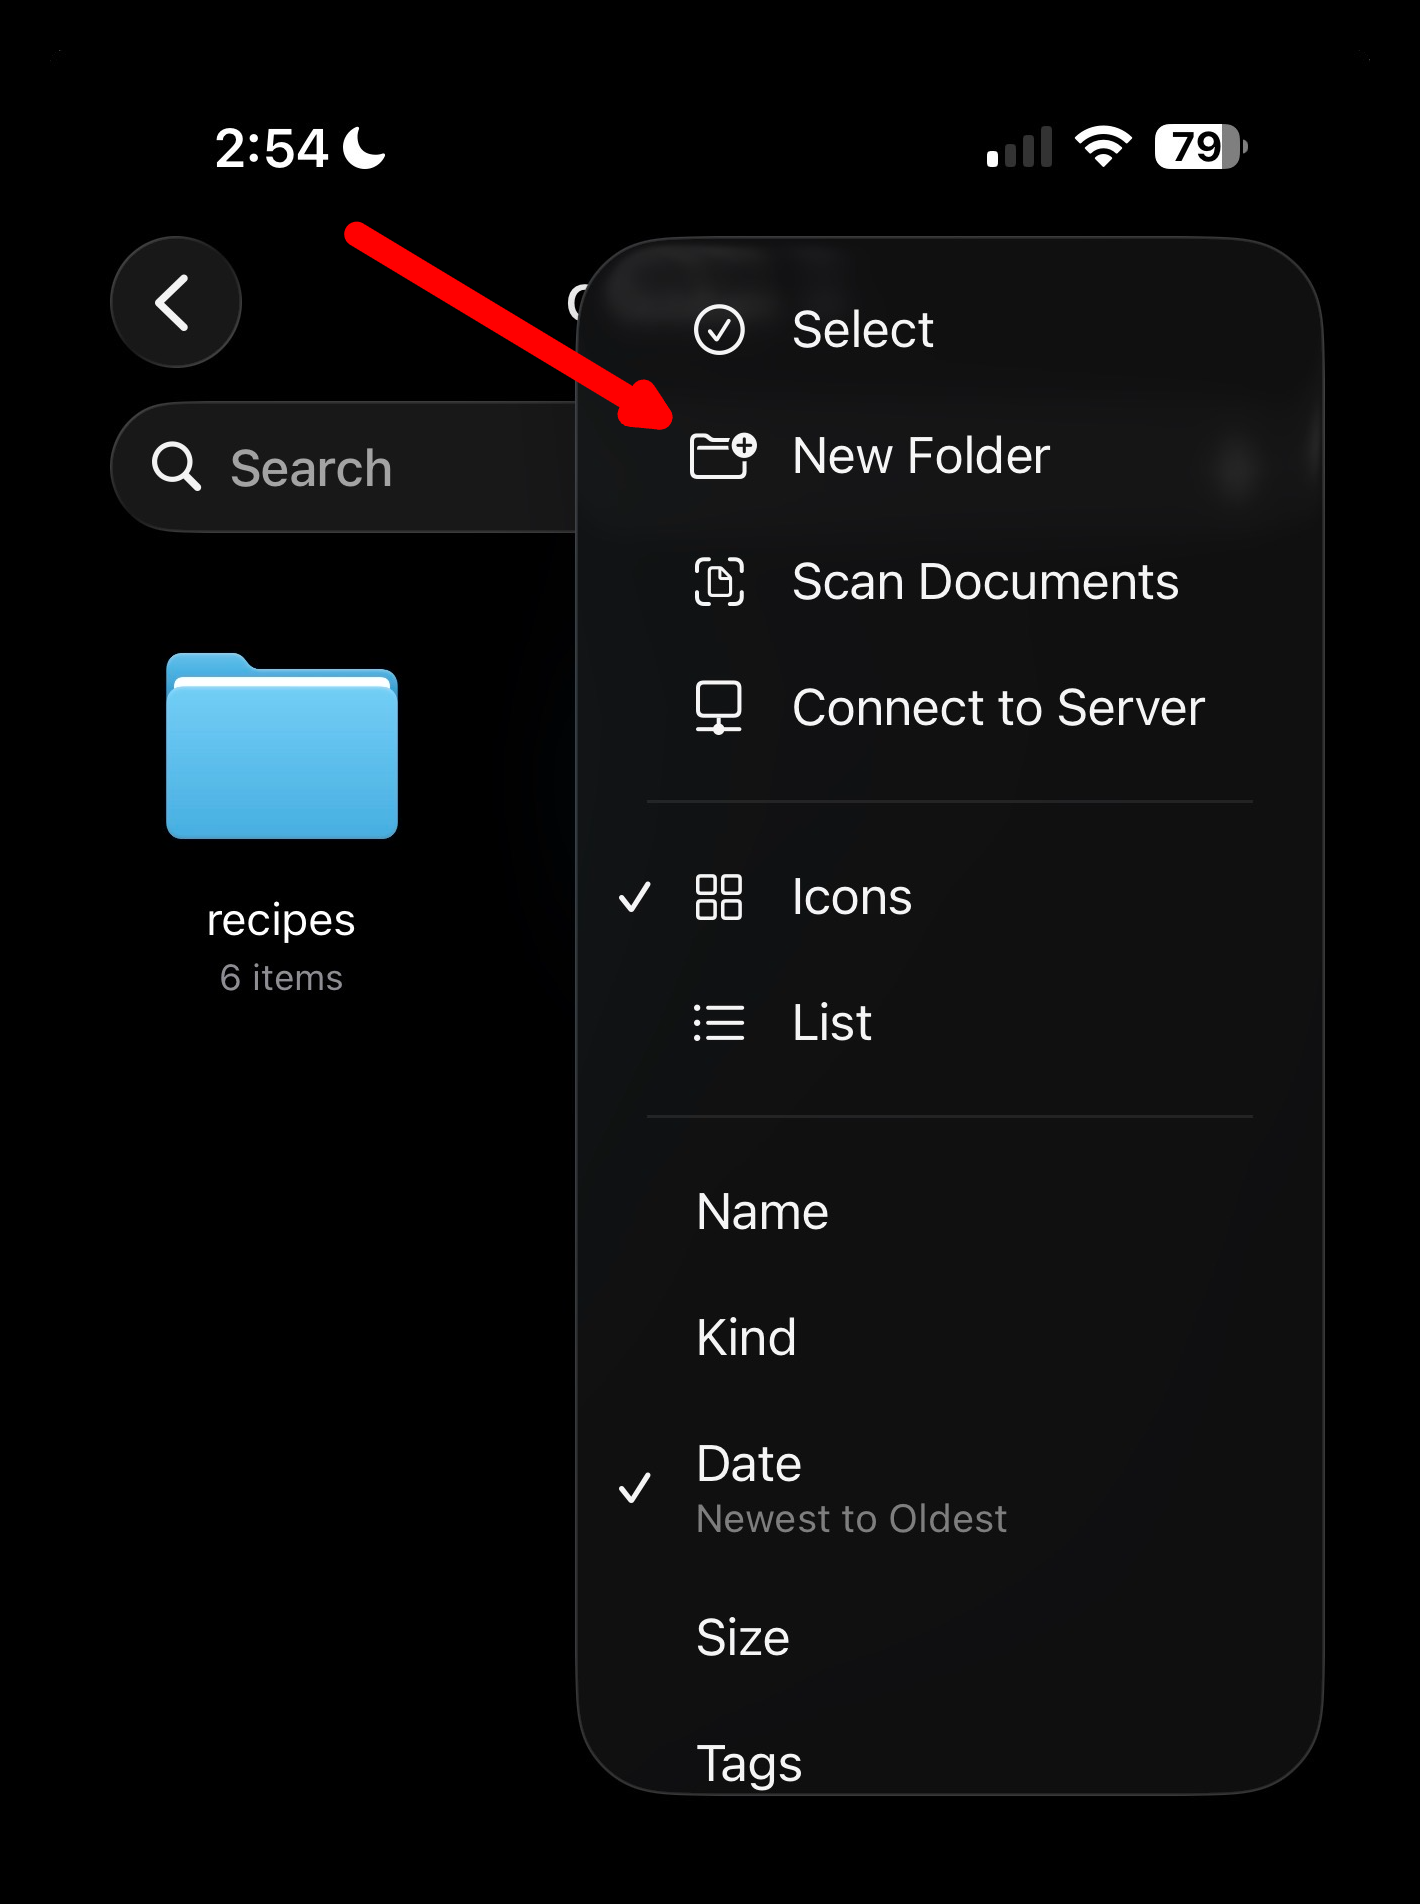
You will see your existing vault folders. To create a new folder, tap the triple-dot button in the top right of your screen and select New Folder.
Give the folder any name you want
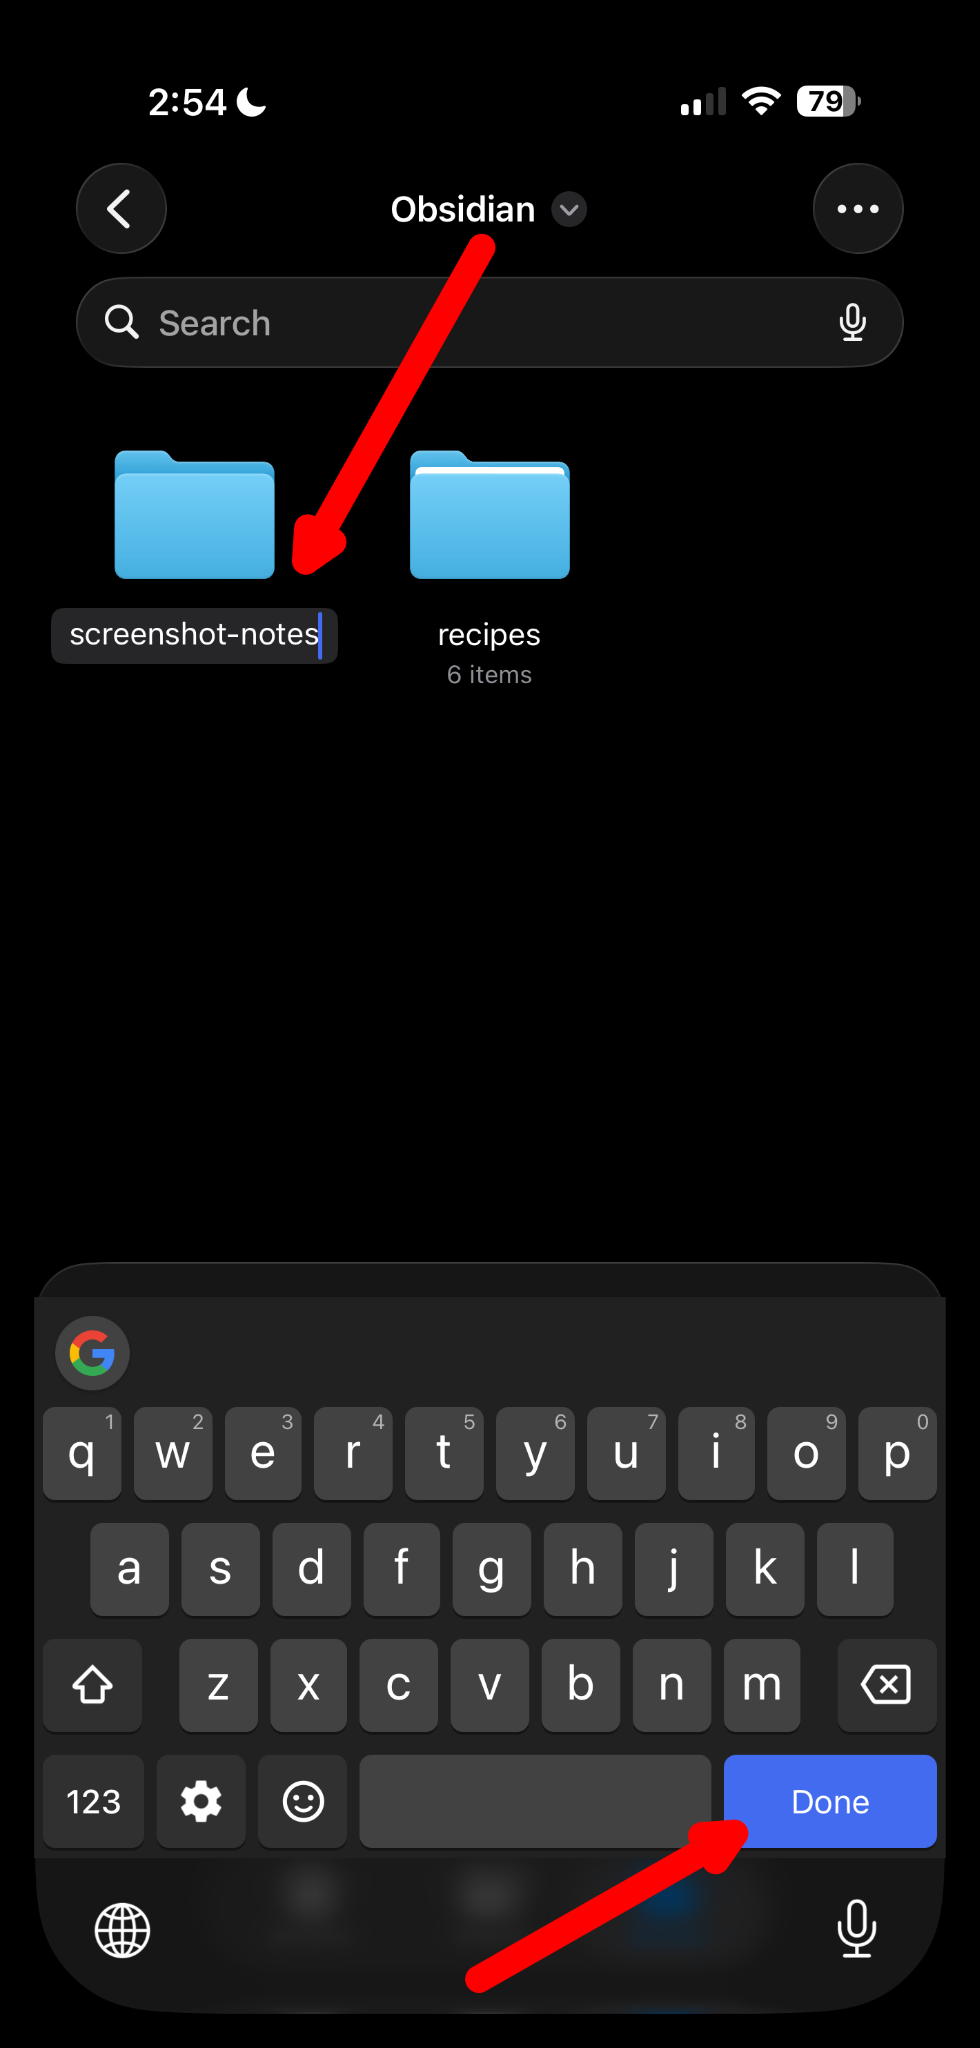
Type a name (e.g., screenshot-notes) and press Done on your keyboard.
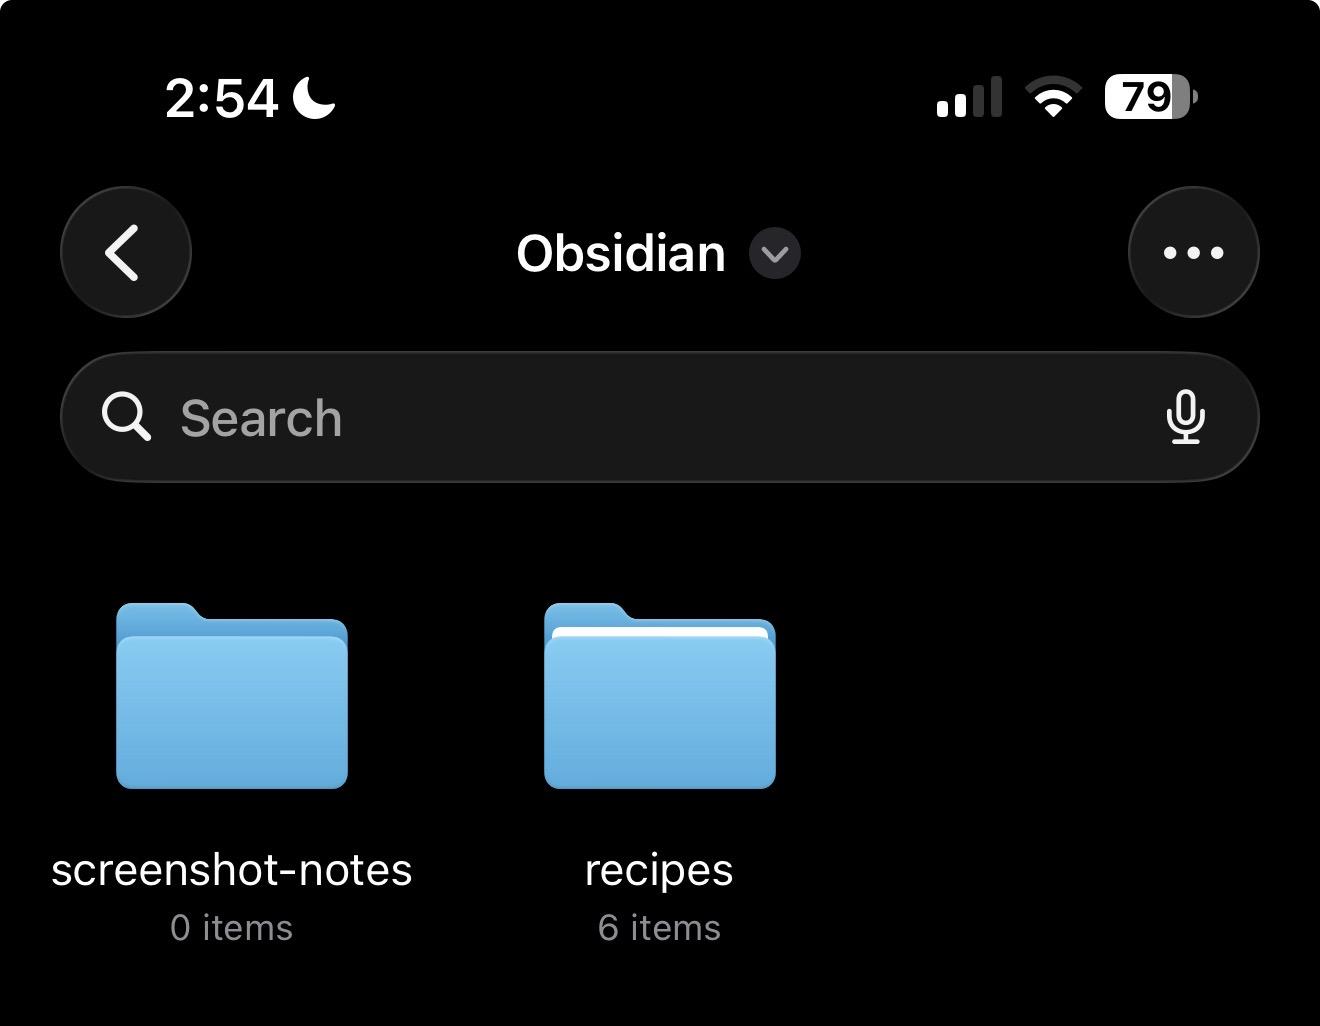
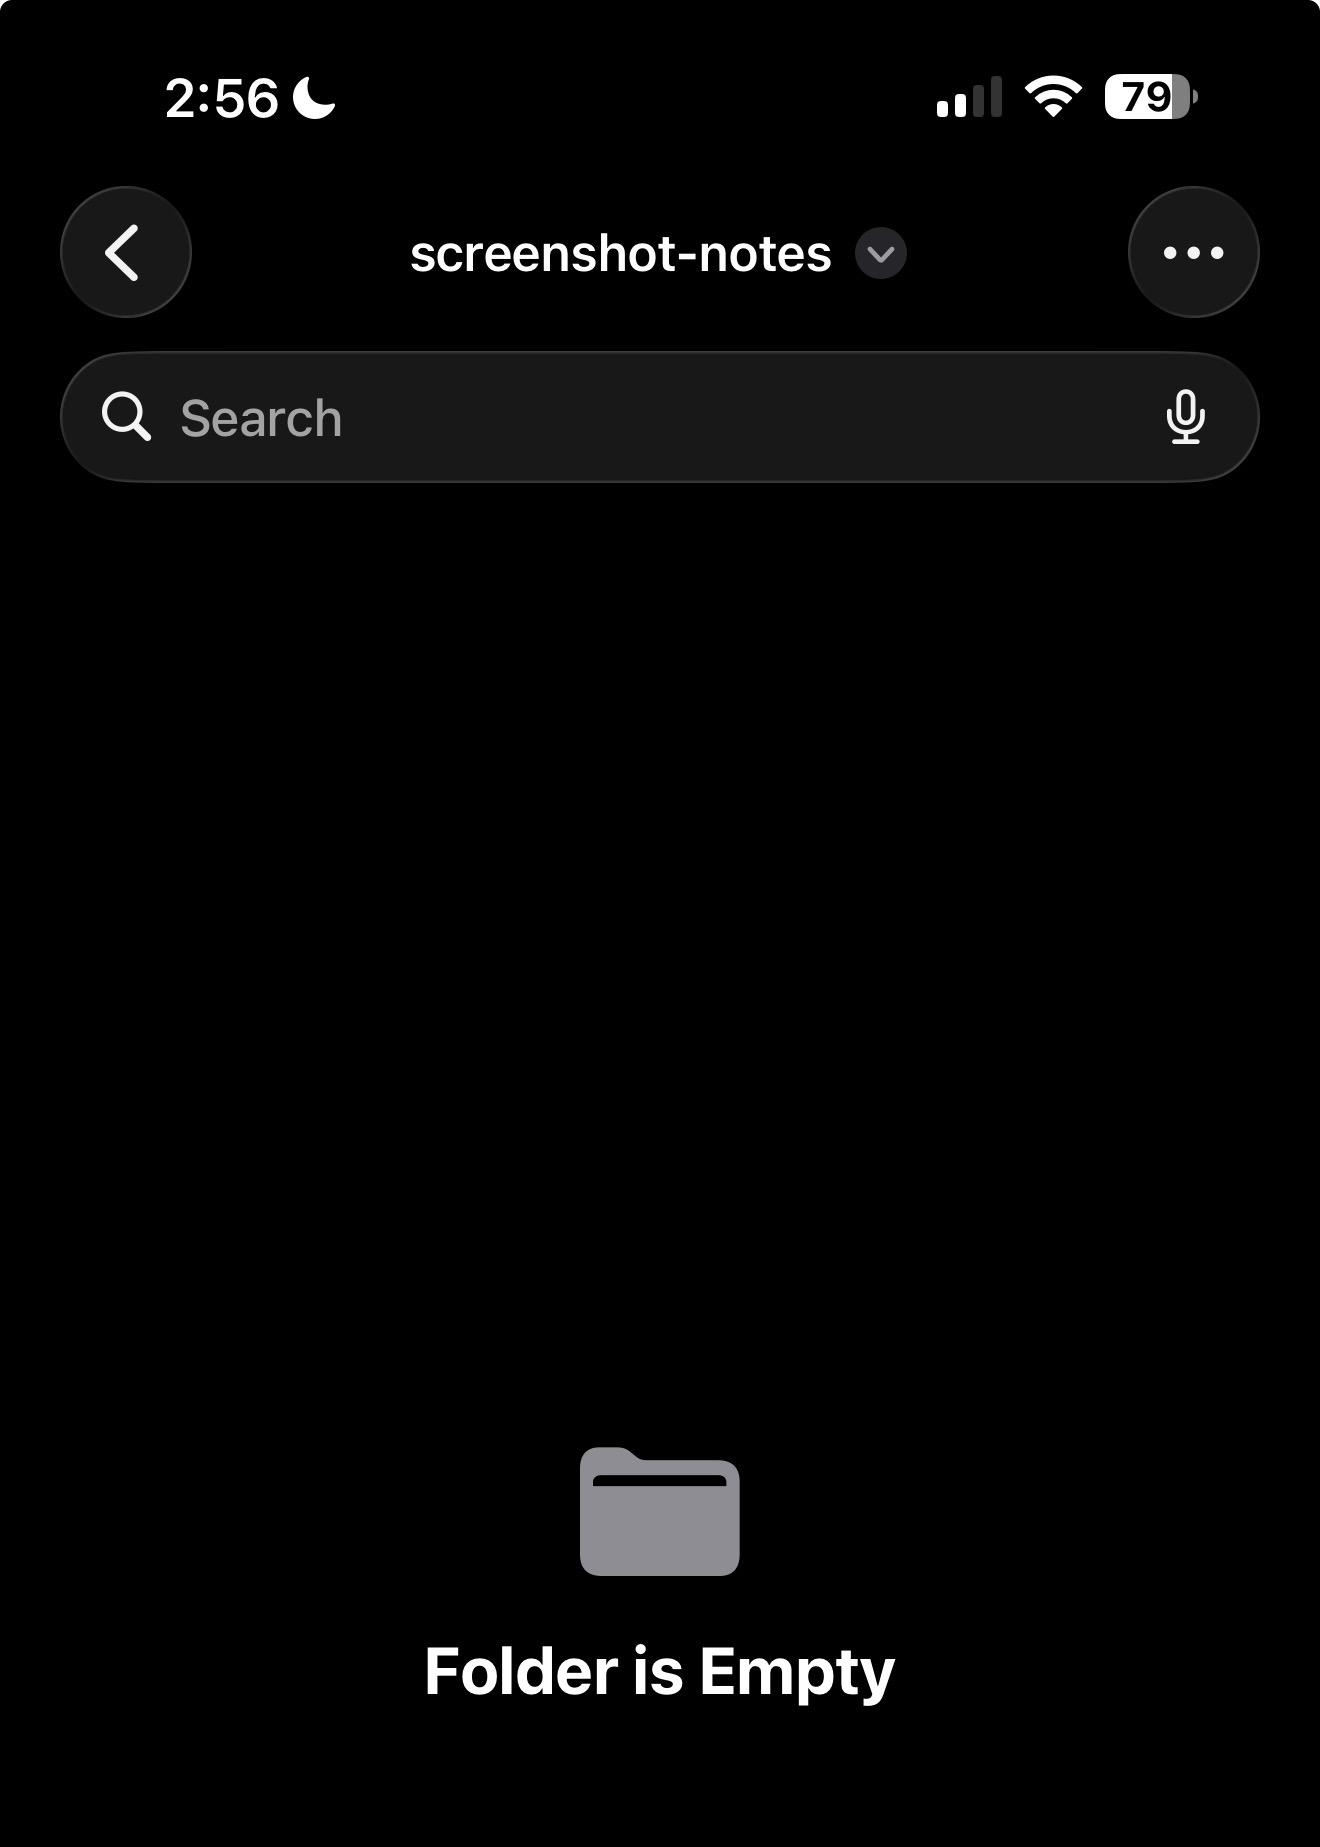
Remember the name — you will need to navigate to this folder in Obsidian to see your notes.
This is your destination folder
This is the folder (inside your Obsidian vault) you will select when you set the Shortcut's destination path.
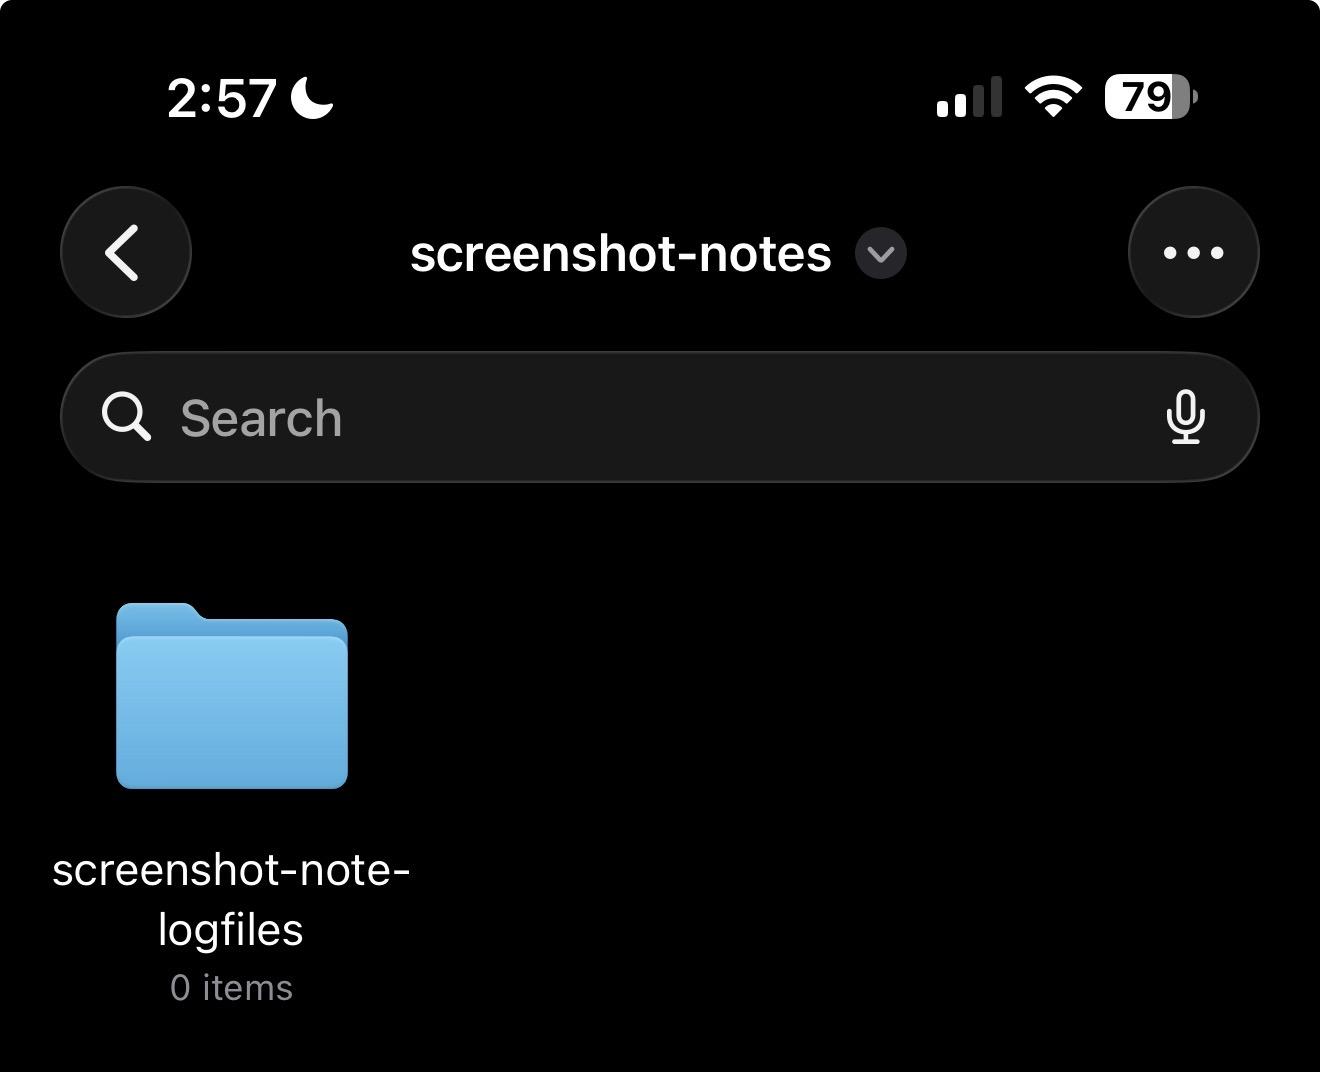
The Shortcut creates two types of files — your notes and a per-job log file. They can be saved to the same folder, or different ones. If you want to separate your log files from your notes, create another folder now (e.g., screenshot-note-logs).
Put the logs folder inside the notes folder
If you want your log files kept separately but alongside the notes, create a second folder — for example screenshot-note-logfiles — inside the folder you just made.
Point the Shortcut at the folder you just created (or any existing Obsidian folder). One-time setup, takes about two minutes.